What is calibration, and how can you manage your calibration reports on IIoT?
Calibration is an essential task during your daily activities, so how can IIoT help you to manage all those calibration reports in an efficient way?
If you have been working for a while in process automation, I am sure you have calibrated at least one manometer, right? OK, if you didn’t do it yet, after this article you’re going to know everything about it and be able to suggest improvements in the process by using IIoT services.
From my side, one of my first tasks was to do a calibration during a planned shutdown in a chemical company. I remember that they had tons of pressure devices, some temperature sensors and manometers.
Oh yeah, I calibrated many manometers and anyone who has done it knows what a cool job it is, right? Joking aside, the idea today is to give you all the necessary information about the calibration process.
Furthermore, we’ll look at some definitions regarding calibration, why it is essential, the difference between calibration and adjustment as well as how IIoT will help you to manage all the calibration reports.
Later on, I’ll come back with other content and share an in-depth, step by step look at how to calibrate particular measuring principles. So, are you ready? Let’s have a look at the calibration stuff then.
Table of content
- What is calibration?
- Why calibration is important?
- What do I need to know about the calibration certificate?
- Which instruments require calibration?
- How does calibration work?
- Difference between calibration and adjustment?
- What’s the benefits of the on-site calibration?
- How often should you calibrate?
- What’s the calibration uncertainty?
- What should I know about pass and fail calibration?
- How do you manage your calibration reports with IIoT solutions?
What is calibration?
First, I want give a simple explanation of calibration, and then I’ll give you the definition from the BIPM (International Bureau of Weights and Measures).
Now when we talk about calibration, we are referring to a comparison between two instruments. Put simply, calibration is the process of comparing the measured value from an instrument under calibration with a reference or standard of known and high accuracy.
I think the explanation is clear, but the BIPM offers a complete description of what calibration is.
The BIPM defines calibration as an “operation that, under specified conditions, in a first step, establishes a relation between the quantity values with measurement uncertainties provided by measurement standards and corresponding indications with associated measurement uncertainties (of the calibrated instrument or secondary standard) and, in a second step, uses this information to establish a relation for obtaining a measurement result from an indication.”
When you are doing a calibration, the procedure requires different tools and instruments, but what you actually need depends on the type of calibration. For instance, you can use calibrators with a valid calibration certificate, standard devices, calibration rigs, and more.
Why is calibration important?
The reason why calibration is essential is super straightforward – it’s all about getting an accurate measurement. Measuring devices are installed in the field in different environments and industries.
It means they face various challenges, such as abrasion, vibration, abrupt changes of temperature, harsh environments, mechanical shocks and much more.
These environments will affect the measuring device, making it necessary to calibrate in order to verify the accuracy and, if necessary, adjust the field instrument to measure with the accuracy required for the application.
On top of that, when you have a device working correctly, it will positively affect your production process because all the measurements will be correct. Lastly, calibration brings positive advantages, such as the reduction of variation with respect to the technical specification as well as preventive maintenance. It also ensures the traceability of the measurements.
Additionally, smart instruments, such as those from Endress+Hauser, provide additional information about their health status using Heartbeat technology, for example. This gives a better picture of the true condition of your field device and measurement.
What do I need to know about the calibration certificate?
During calibration, you need to record all the measurements, either manually or by confirming the system will automatically record your data. When you finish calibrating, you need to generate a final document, called a calibration certificate, with all the technical information from the procedure.
Usually, the certificate has to include all the comparisons between the device in calibration and the traceable reference. You also need all the technical details on the device and the traceable reference instrument, the procedure data, the calibration uncertainty, the calibration number, and the signatories.
Which instruments require calibration?
All measuring devices can be calibrated. Calibration will help you to make sure they are working correctly and are providing the accuracy necessary for the application. How the calibration is done differs according to the field device. That is to say, the concept is identical, but the way you do it can be quite different.

For instance, when you are calibrating a pressure transmitter you can use calibrated dead weight tester as a reference to create the pressure. Alternatively, you can use another pressure device which has a higher accuracy than the device under calibration.
All calibration standards should have a calibration certificate indicating that they conform to the standards applicable in your part of the world.
How does calibration work?
The explanation is simple, and I already said it: you make a comparison between the device under calibration and the reference standard, usually verifying at 0%, 25%, 50%, 75% and 100 % of the measuring range. You can test at more points if you want to, but often you will have to pay more too.
Depending on the device type, the calibration is done using different reference standards, e.g.:
- Flow transmitter: you can calibrate against a master device, compare it with a weight scale or do a mobile prover calibration. It all depends on the type of device, the accuracy etc.
- Pressure transmitter: you can have a standard device with higher accuracy, a digital calibrator or dead weight tester.
- Temperature transmitter: you can use a calibrated reference, such as an electronic temperature sensor simulator.
In addition, you will have an SOP for calibration which guides step-by-step through the task. People frequently ask about the intervals between calibrations. Here the standards are not clear, but you can find out the optimal interval between calibrations based on items such as:
- The measuring device;
- Vendor recommendation;
- Trend analyses based on the previous calibration;
- Instrument historical data;
- Comparison with similar devices in your plant;
- Accuracy of the measurement.
Difference between calibration and adjustment
Usually, we understand calibration as the entire process of comparing the device to be calibrated with a reference of a better and known accuracy, if necessary, followed by adjustment.
However, during the calibration process itself, we only make a comparison between the device under calibration and the standard. If, after checking the measuring range, the technician finds out an error higher than expected, then the measuring range must be adjusted.
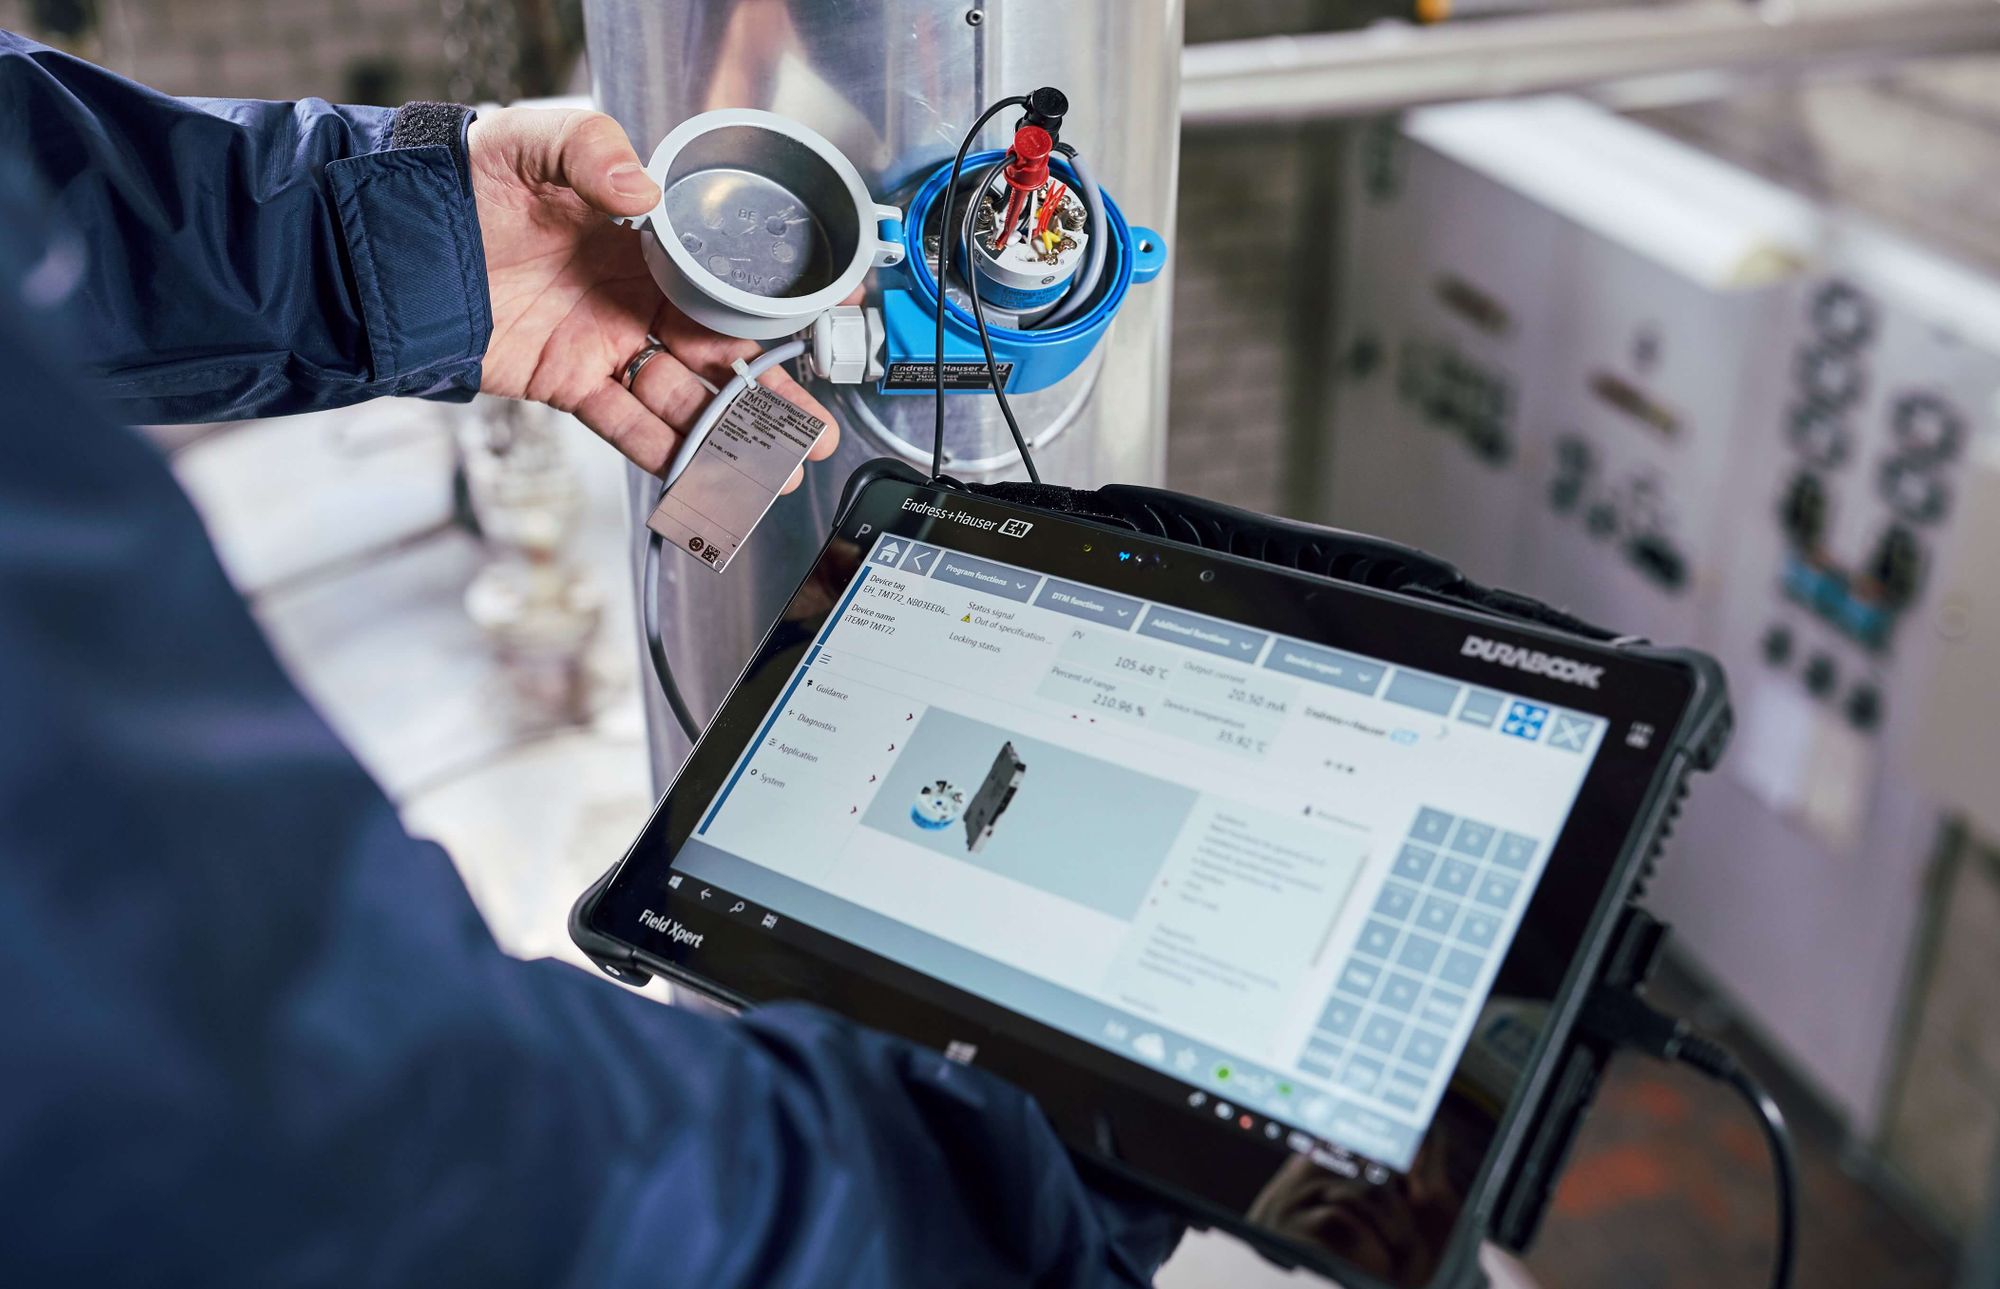
For instance, if we need to adjust a pressure transmitter, we first trim the zero (offset) of the transmitter – it’s usually zero – and then the span value (pressure range).
The transmitter has parameters and/or mechanicals that trim the zero and span – the means vary according to the age and vendor of your device, so check your manuals first.
After adjustment, the measuring range has to be rechecked by comparing with the standard and making sure that the accuracy is now within the required limits.
What’s the benefit of the on-site calibration?
I’m sure, that you’ve already performed a calibration in your company, right? As I said earlier, this is a standard day-to-day activity for those who work with measuring instruments.
However, when there is a planned production shutdown and there are a lot of instruments, an external company is often hired to perform the calibration of your pressure, temperature and flow instruments etc.
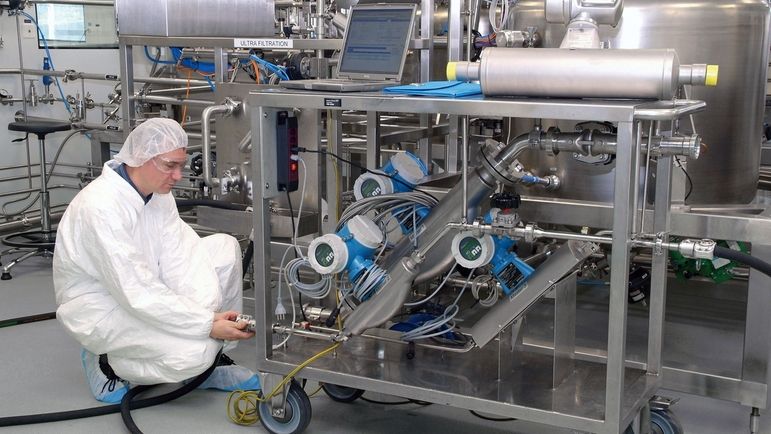
Yes, flow calibration in the field is becoming increasingly common.
Small, medium, and large companies are developing mobile calibration rigs so that this service can be done in the field. For instance, Endress+Hauser offers a service using a modern calibration rig and highly skilled professionals for this type of on-site calibration.
It brings tons of benefits for you, such as keeping the instruments on site without logistics of sending them away, fast adjustment, repairs and instrument exchange – all with certified experts doing it.
How often should you calibrate?
Excellent question, and the answer is simple. It depends. In fact, there is no perfect answer to this question. However, we can use best practices and relevant points to define the calibration period:
- Criticality of the measurement to your process
- Quality system at your plant
- Regularity requirements
- Manufacturer recommendations
- Impact of failure due to lack of accuracy
- Other technical requirements
With these points, you can determine a good calibration interval, then adjust as necessary. Fortunately, new IIoT solutions offer the potential for easy calibration of your field devices.
What’s the calibration uncertainty?
Calibration uncertainty refers to the potential for doubt in the process. It's basically a question about the quality of the calibration itself. Many things can affect this uncertainty, such as the installation, traceable reference, and environment.
When you have a calibration uncertainty higher than the field sensor's tolerance under calibration, you then have to question yourself. Does it make sense to calibrate a device with better accuracy than the calibration uncertainty? Not really.
For example, you can use a clamp-on flow meter to test an in-line device. But when you calibrate a field device using a clamp-on, the calibration uncertainty may be higher than the installed meter’s tolerance.
What should I know about pass and fail calibration?
A device under test can fail or pass, but how do you know? The device has a tolerance limit, set by the manufacturer or on the first calibration certificate. During the calibration, if you receive an error higher than that limit, then you can consider the calibration failed.
So what should you do next? Try adjusting it, then rerunning the calibration to see if anything changed. If the device's difference under calibration and the traceable device is below the tolerance limit, it passes!
How do you manage your calibration reports with IIoT solutions?
It’s essential to save calibration documents where you can easily find them. This is just one of the possibilities of new IIoT services, such as Netilion Library. This provides all the information in the cloud under the device tag.
This means you can have calibration reports, technical data, and much, much more all in one place.
Additionally, all your team can have access to the documents and work together, sharing them and keeping the data up to date. This can help you and your team to save time during the verification of devices in the field or to find old calibration reports.
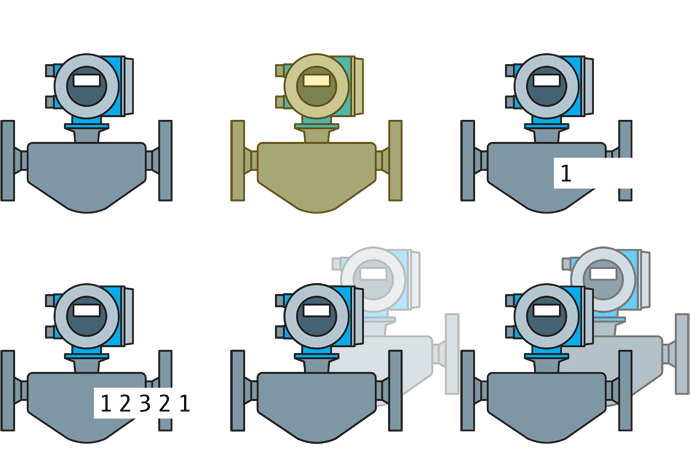
If you decide to use an edge device in your solutions, digital twins of all your devices can be automatically created in the cloud. Furthermore, you can get access to all the files from smartphones, tablets, and laptops.
Sharing and getting access to technical documentation and calibration reports was never as easy as it is today. You can try it out for free and see how straightforward the solutions are for managing all of your technical documentation.
Hey, I think I am done here! Do you have any questions? Ask your question on social media using #netilion and don’t forget to share this article there too.
Have a good one!


